Audio and Cooling: Giving Life and Coolness to the Project
Once we had video, two new challenges arose: sound and heat. What good is a retro console if you can’t hear the «pew-pew» or if it overheats in the middle of a game?
Boosting the Sound
The original audio system had two key problems:
The original speaker was garbage: It was barely audible.
Connection issues: We had no direct way to send audio from the motherboard’s jack to the SCART connector.
Our solution was to create a custom 2.0 audio system, reusing components and adding a little magic.
The Heart of the System: PAM8403 Amplifier
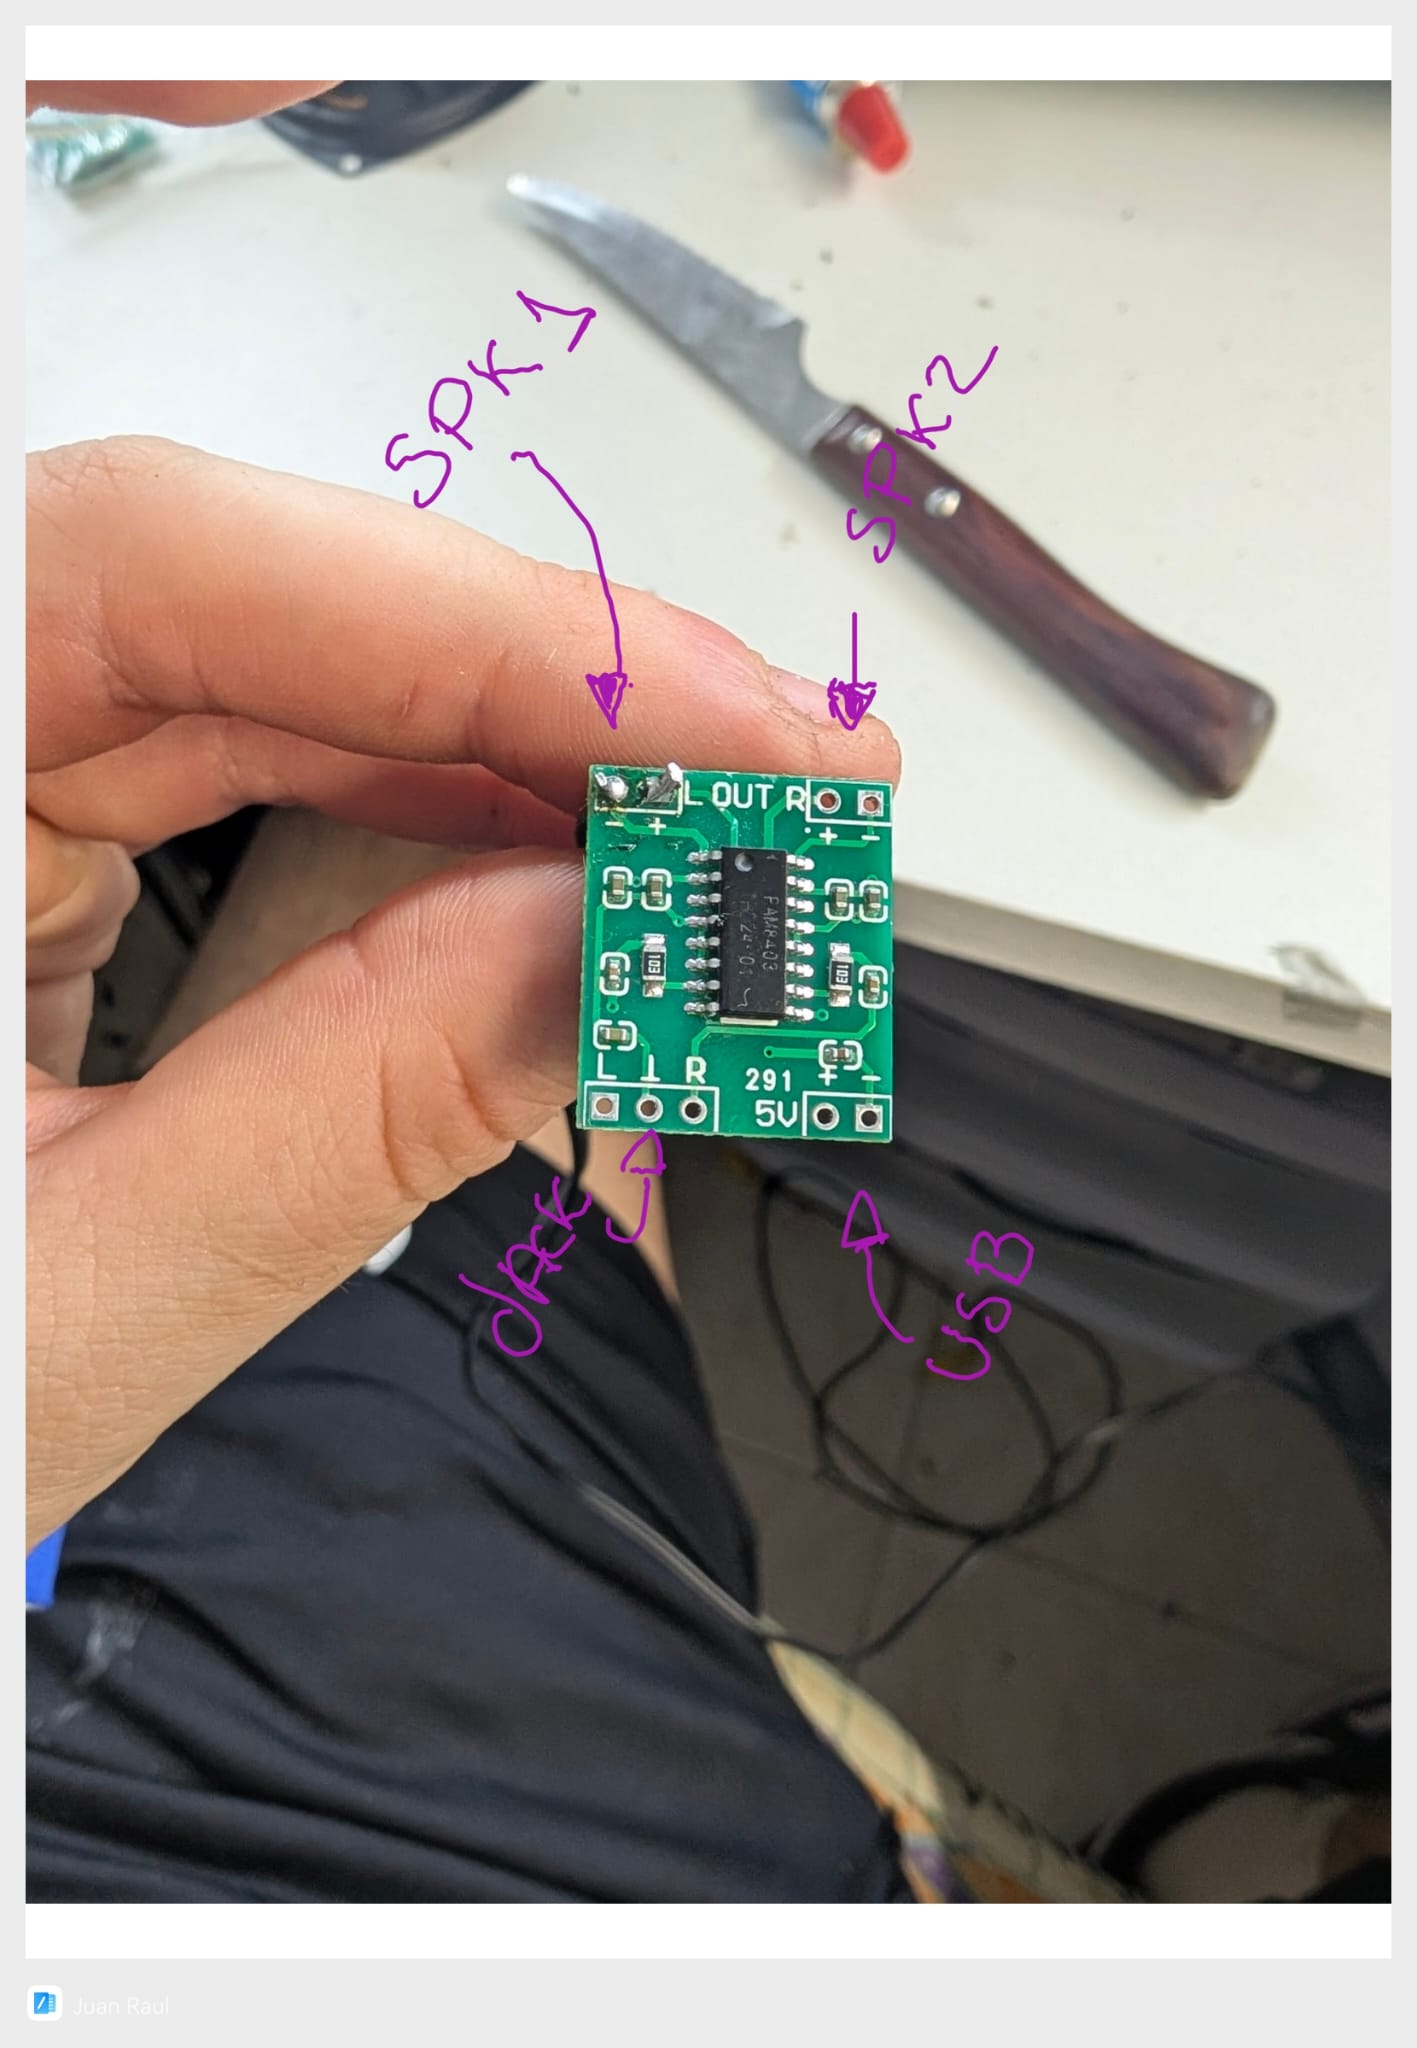
To give it the necessary power, we chose a small PAM8403 amplifier. This tiny circuit would allow us to handle two audio channels (stereo) and bring the speakers to life.
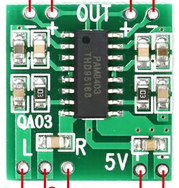
The assembly was simple, connecting the audio input from the motherboard’s jack and the outputs to our two speakers, as shown in the diagram.
Strategic Speaker Placement
To achieve stereo sound, we distributed the speakers ingeniously:
Original speaker: We reinstalled it in its original location. As seen in the image, we glued it and temporarily secured it with tape.
New speaker: We found a perfect spot in the upper part of the case.

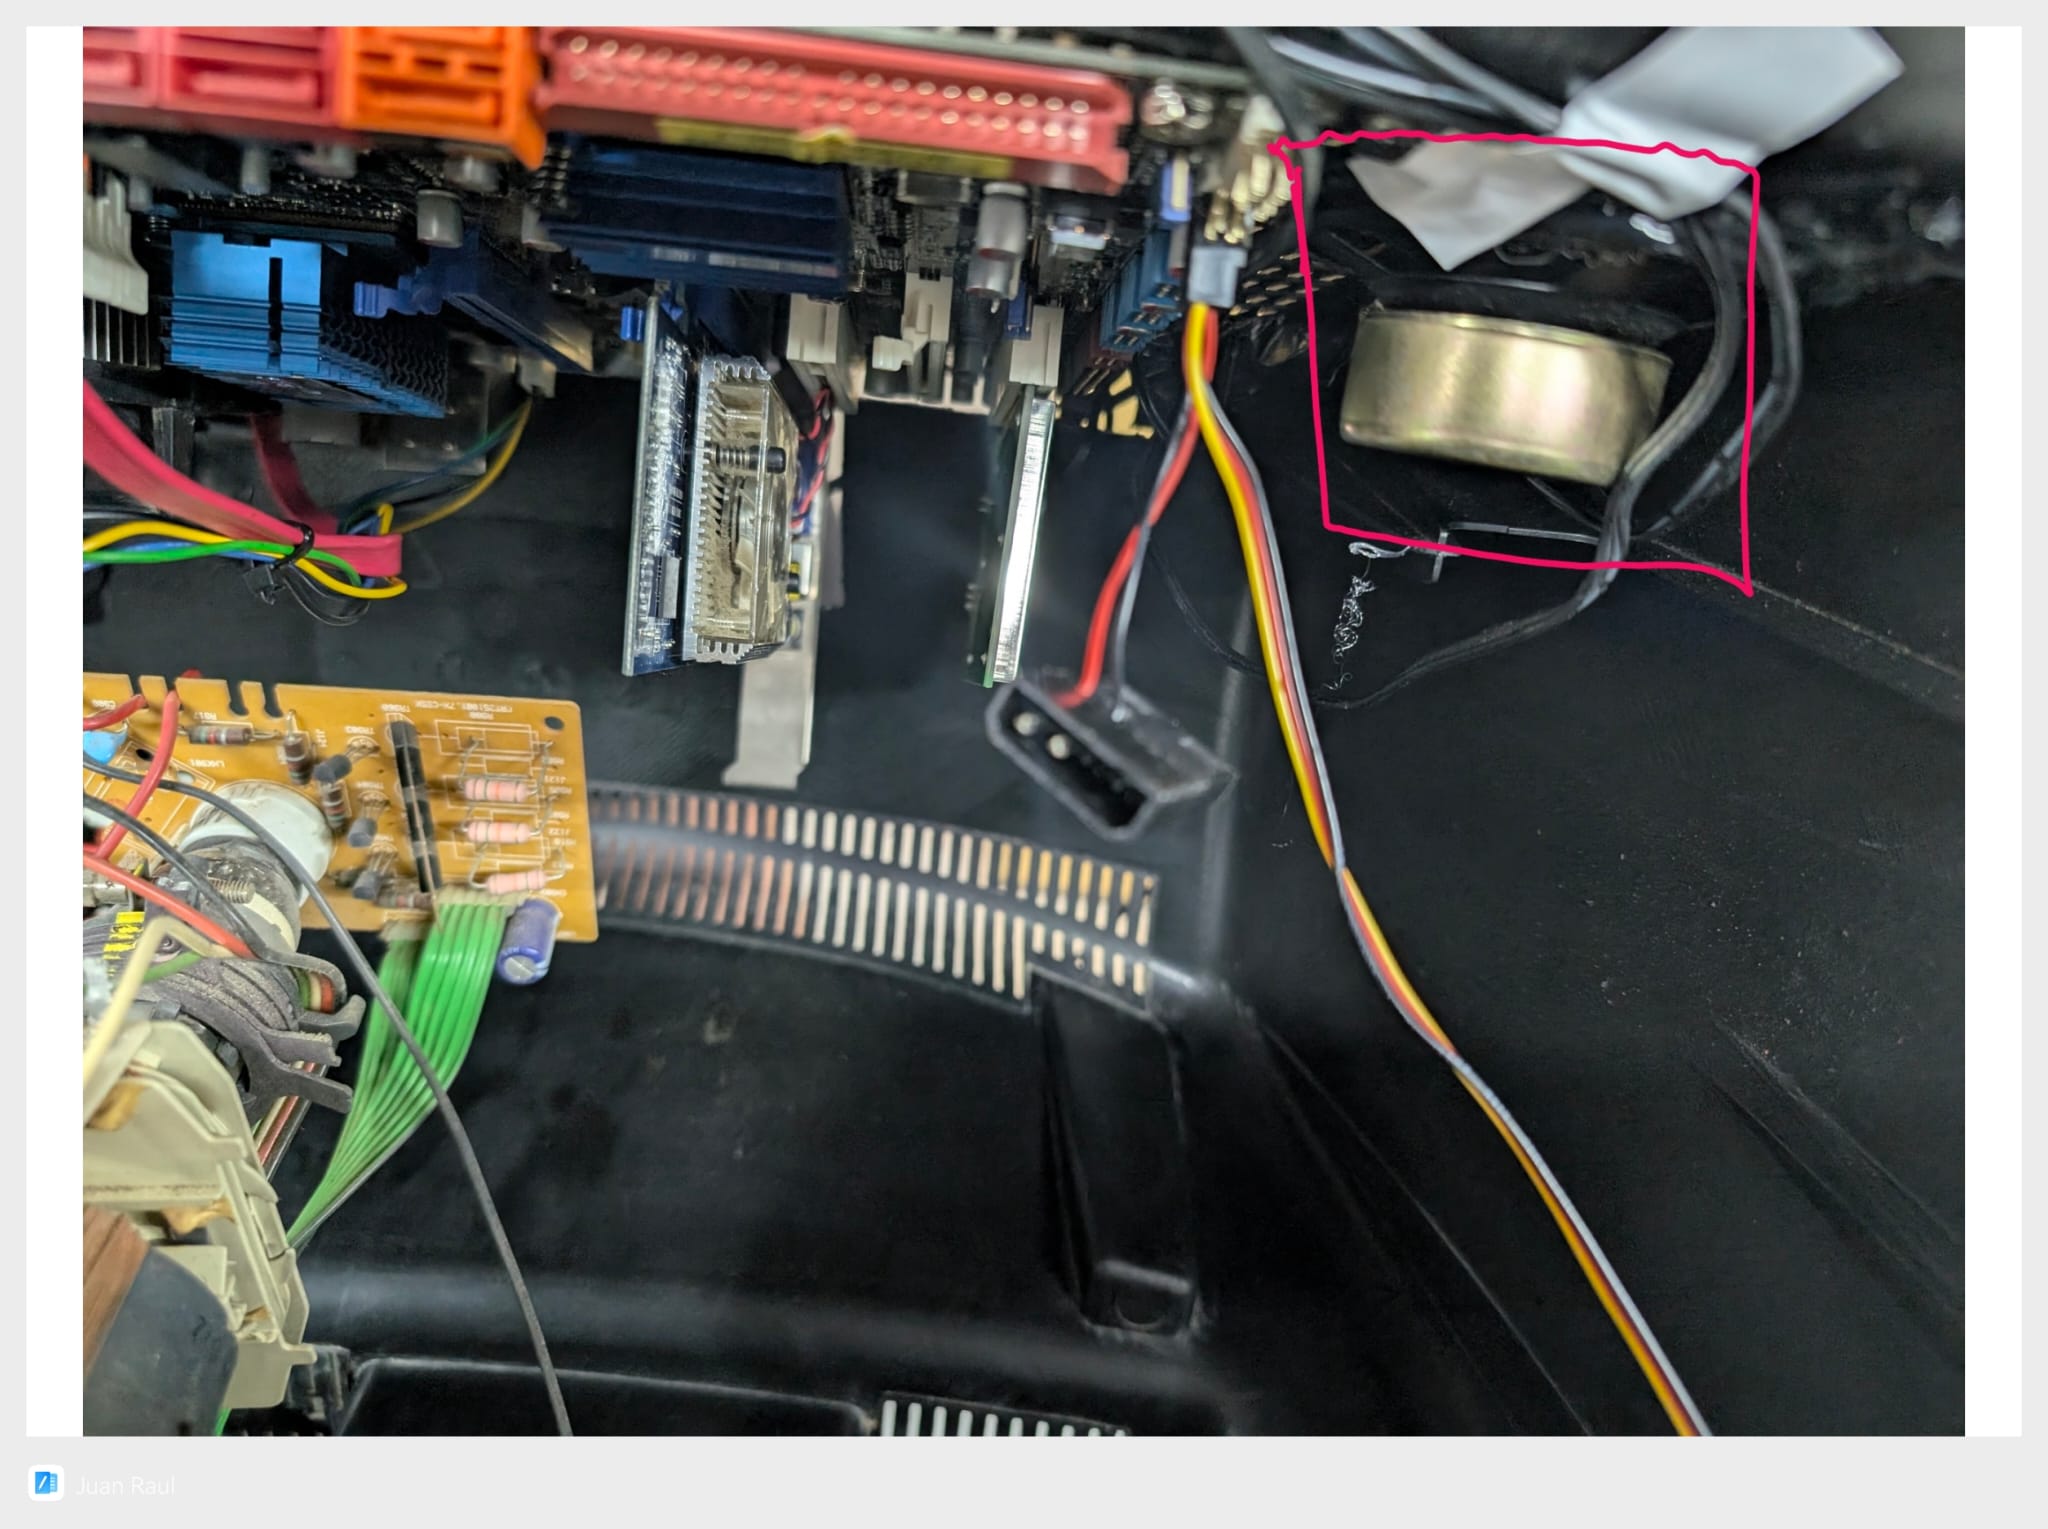
The final result was a compact and perfectly integrated sound system.
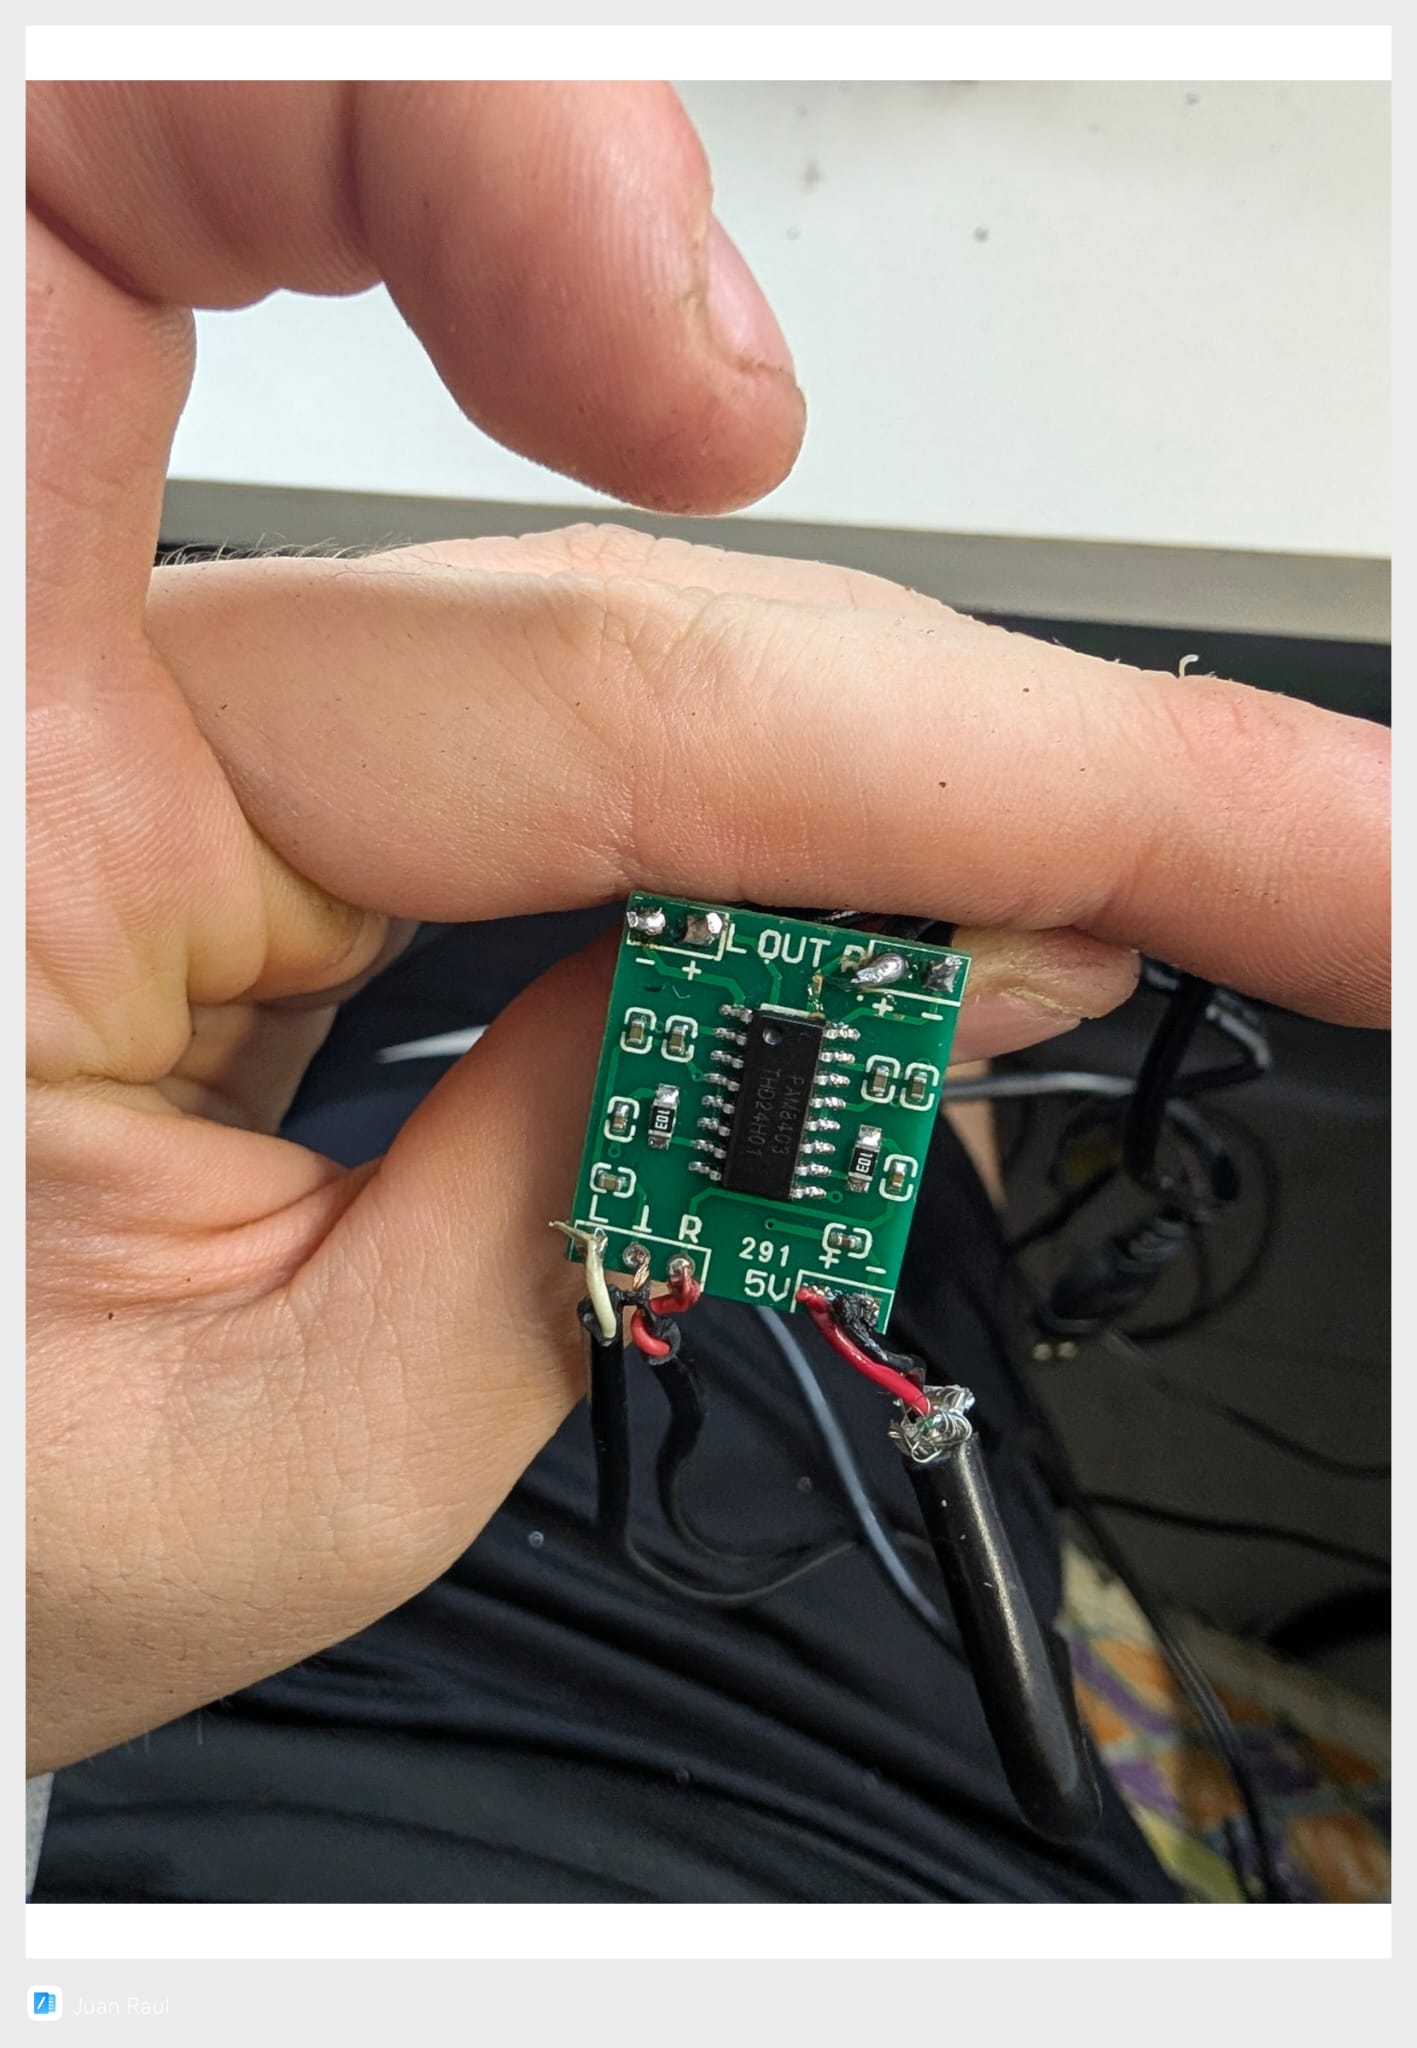
To power it, we used a simple and elegant solution: a 5V USB port from the motherboard itself.
Keeping Cool: Ventilation System
The first tests revealed a problem: heat, which, although not much, could be an issue after long gaming sessions. The TV’s interior was becoming an oven, as the hot air generated by the PC had no efficient way to escape.
We decided to take action and install an active ventilation system.
The Plan: An Extraction Fan
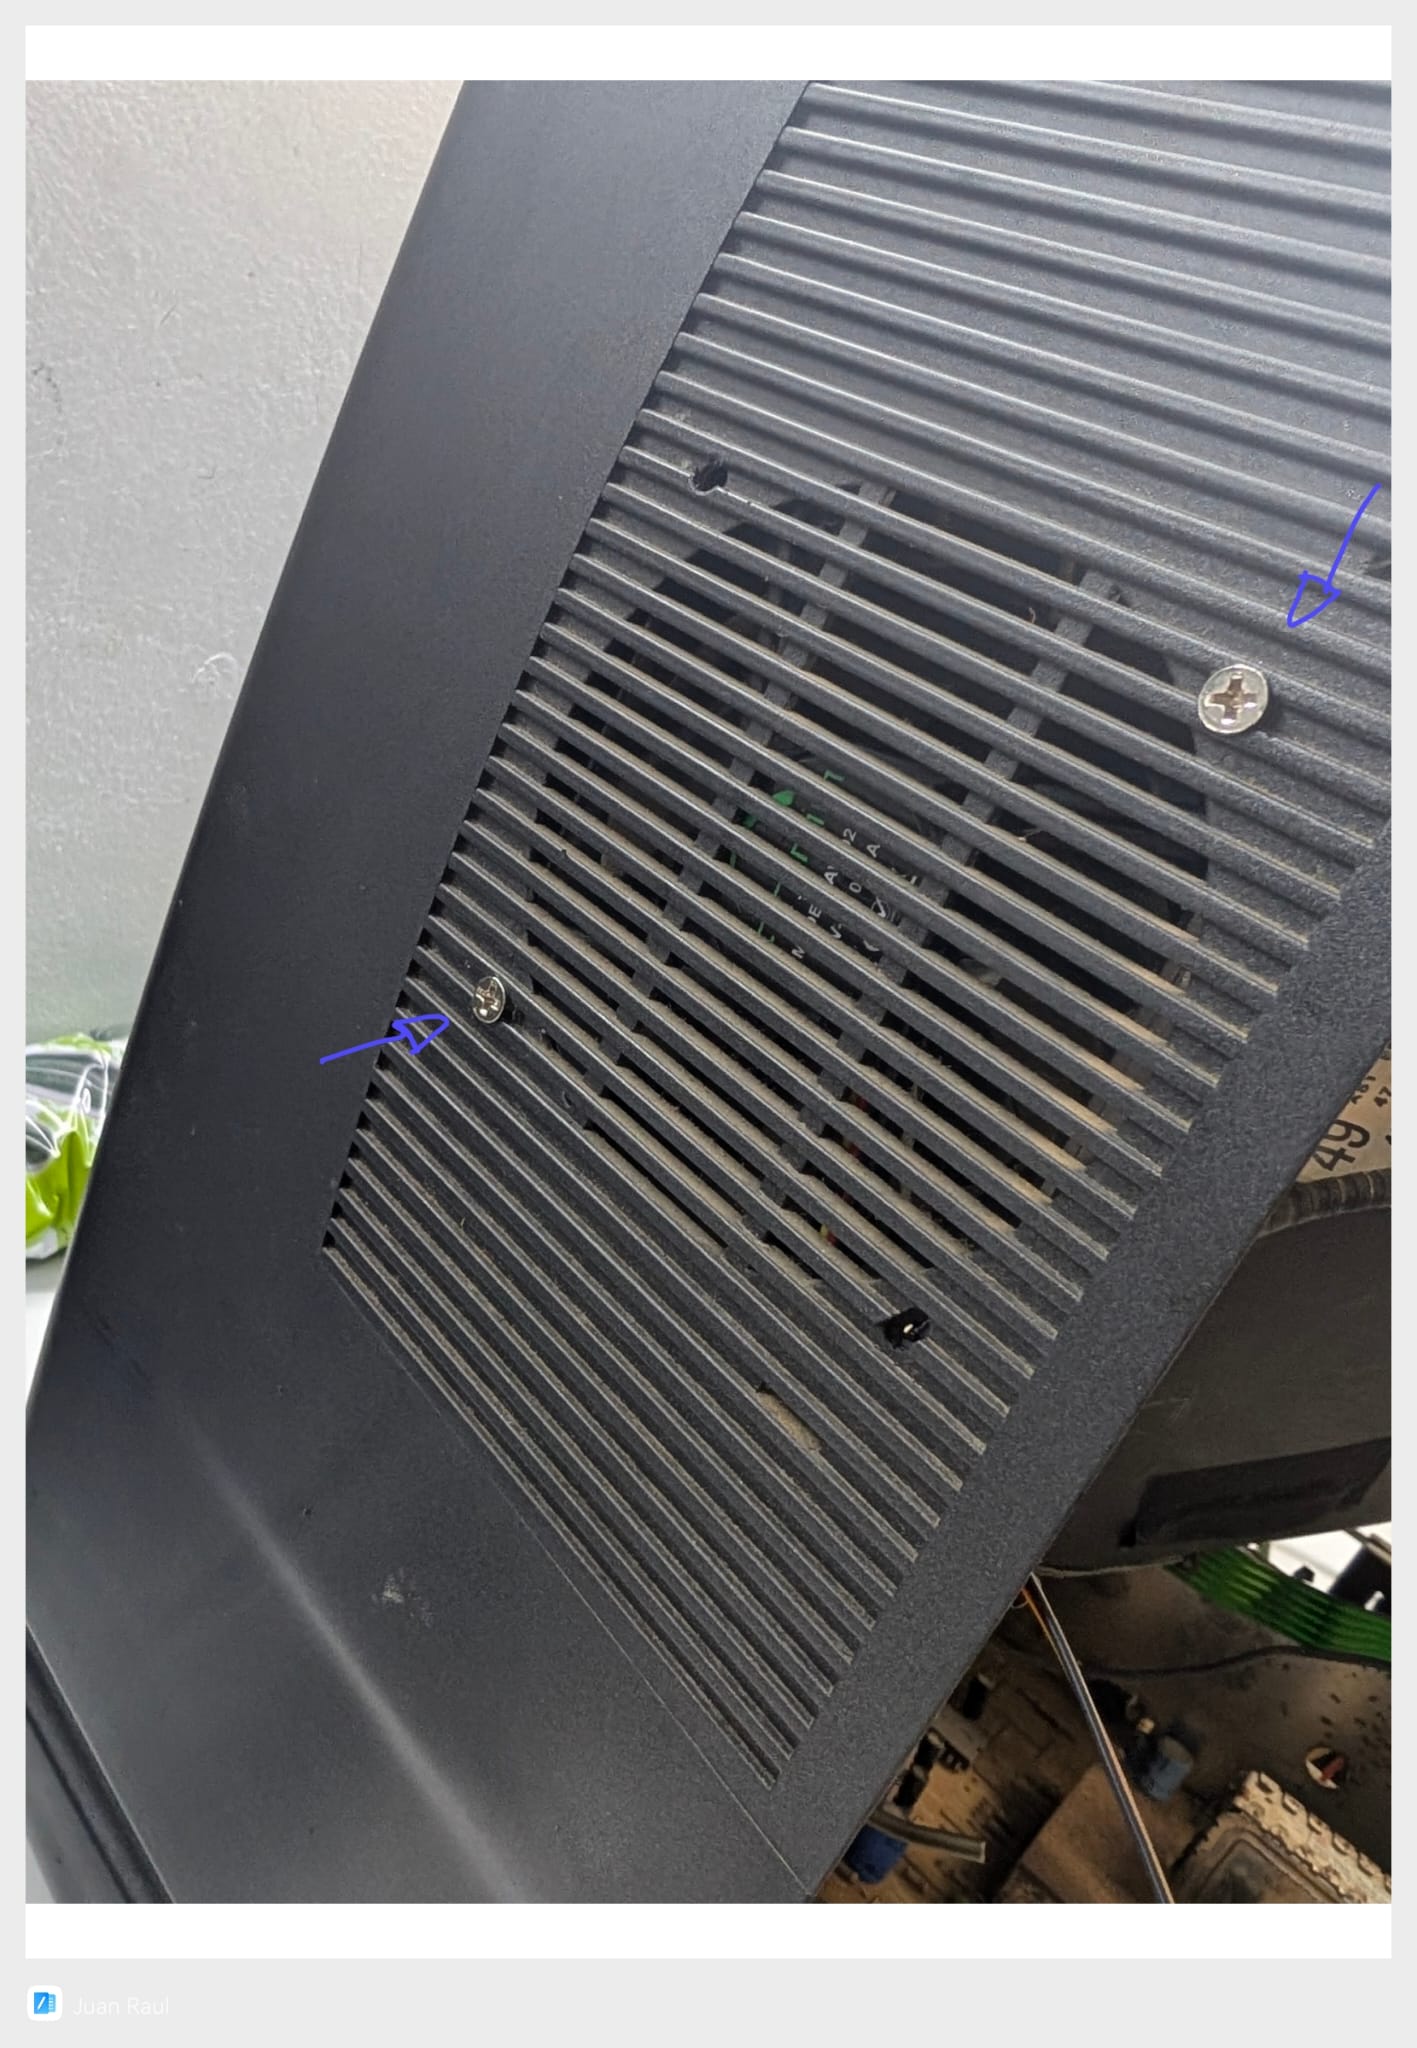
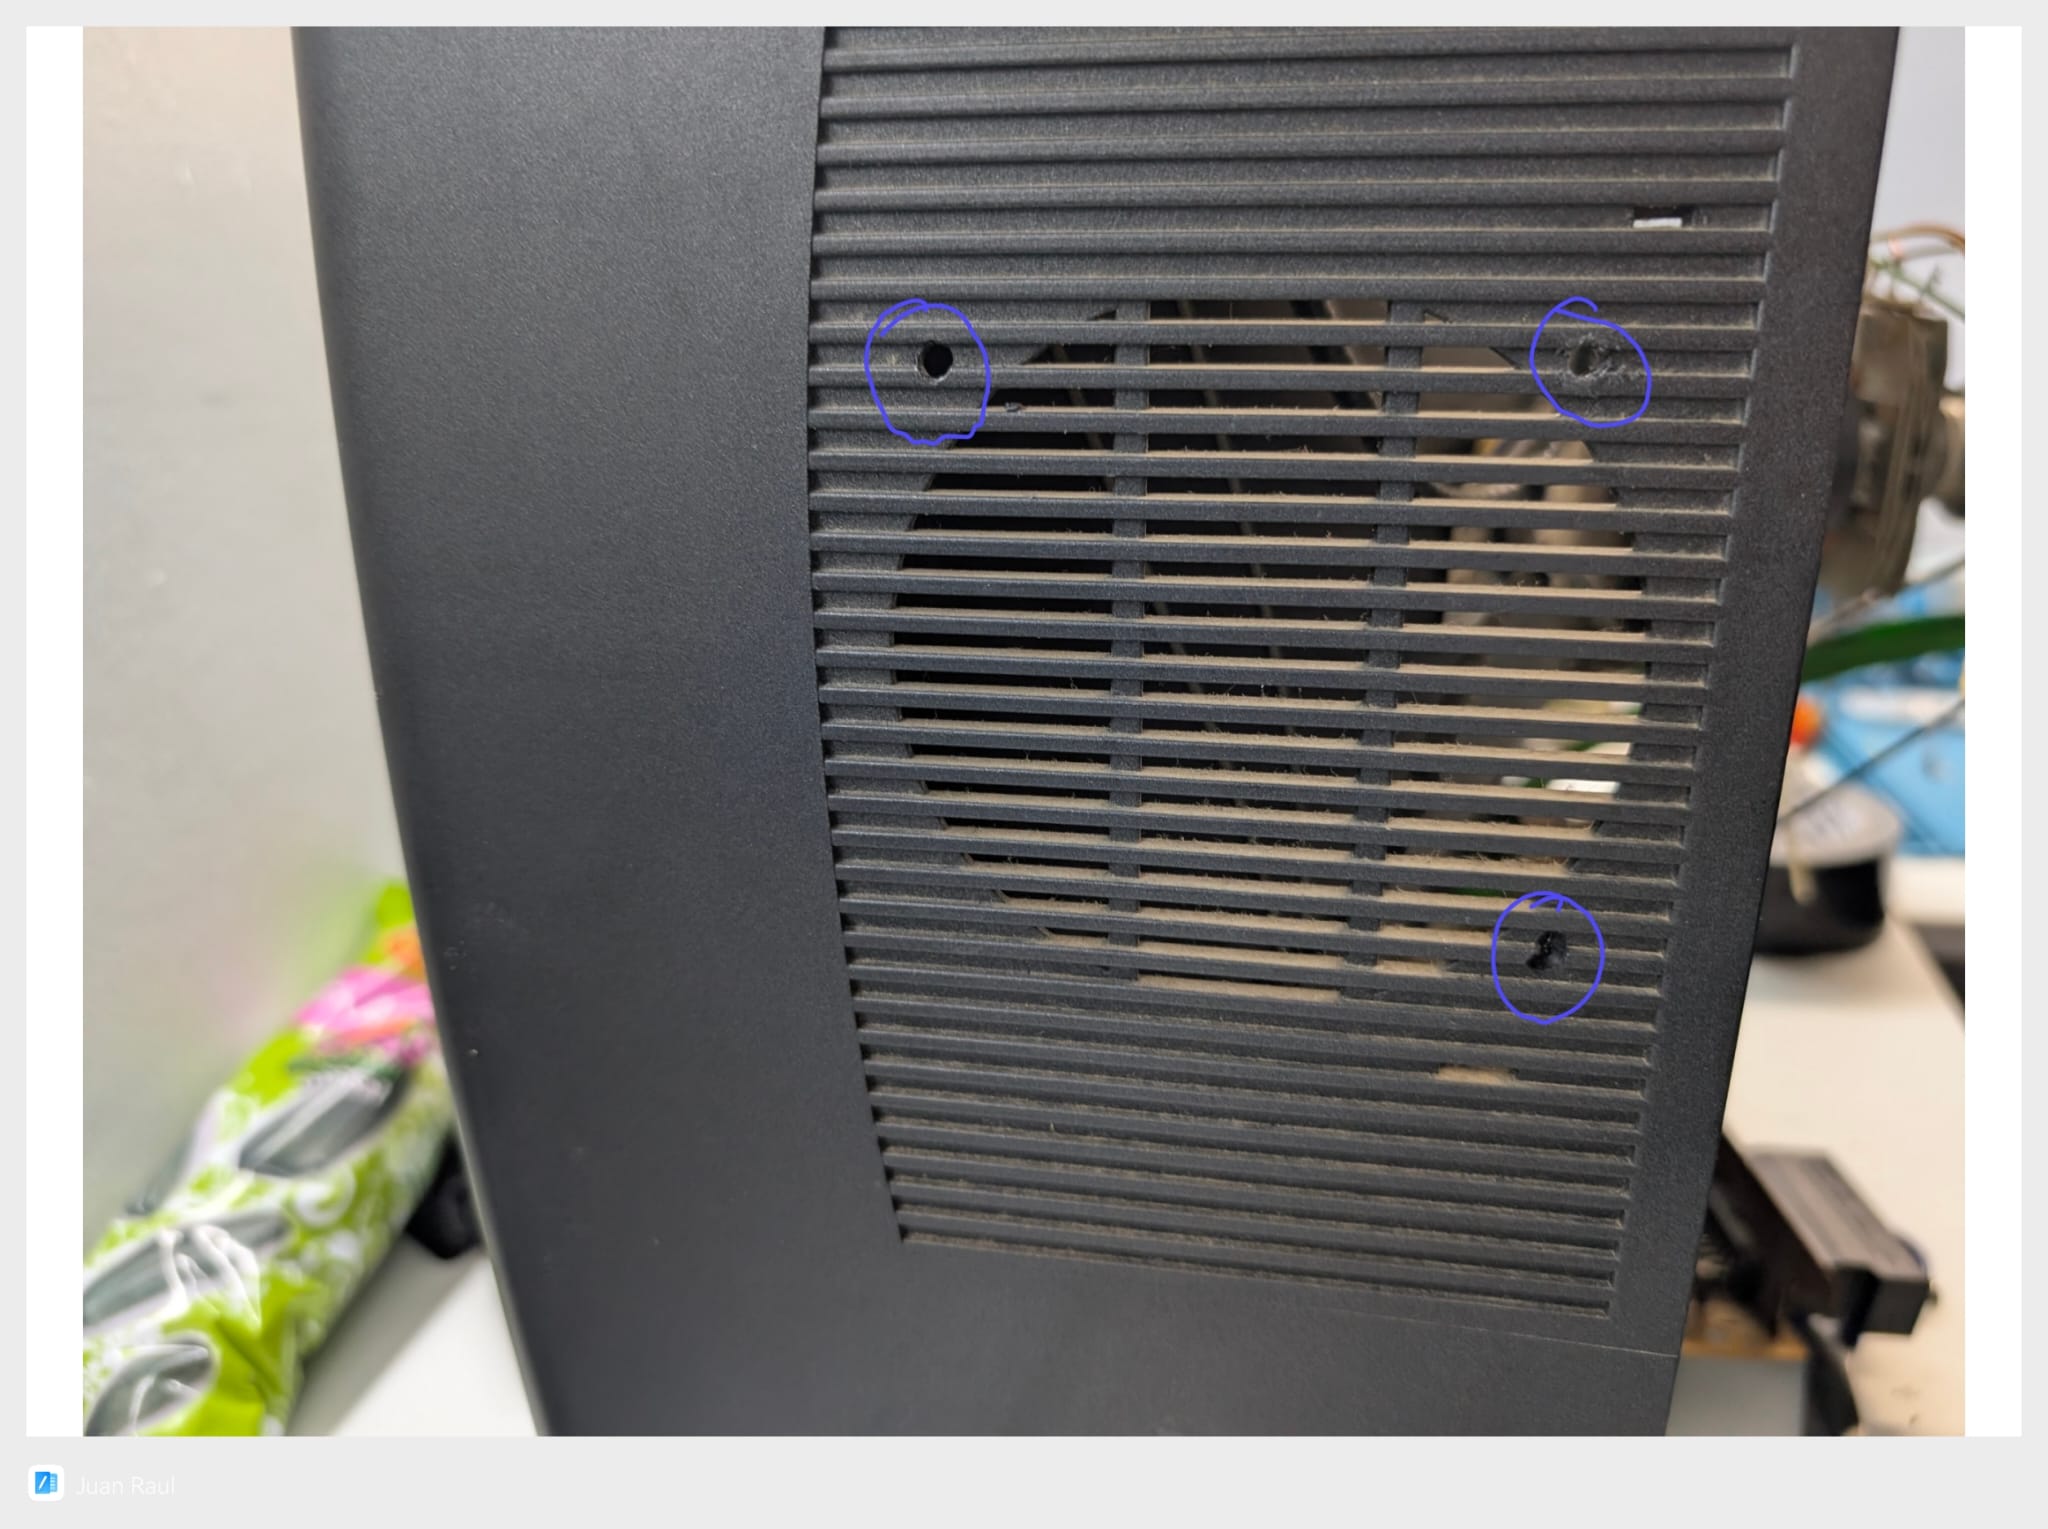
Taking advantage of some existing ventilation grilles on the side of the case, we planned to install a fan that would actively extract hot air from the inside.

Getting to Work
With the help of our trusty Dremel, we marked and drilled the necessary holes to screw the fan in. (Builder’s note: we made three holes just in case, but in the end we only needed two).
And here’s the final result: a perfectly fitted fan, ready to keep the components at an optimal temperature during long gaming sessions.