The Electrical Heart: Taming the Power Supply
With the board and video sorted out, it was time to give power to the beast. The next big challenge was finding a home for the power supply unit (PSU). Although the TV is large, the interior was already full of things.
An Unexpected Home: Thinking «Outside the Box»
The problem: The ATX power supply was a giant that wouldn’t fit into the delicate interior ecosystem.
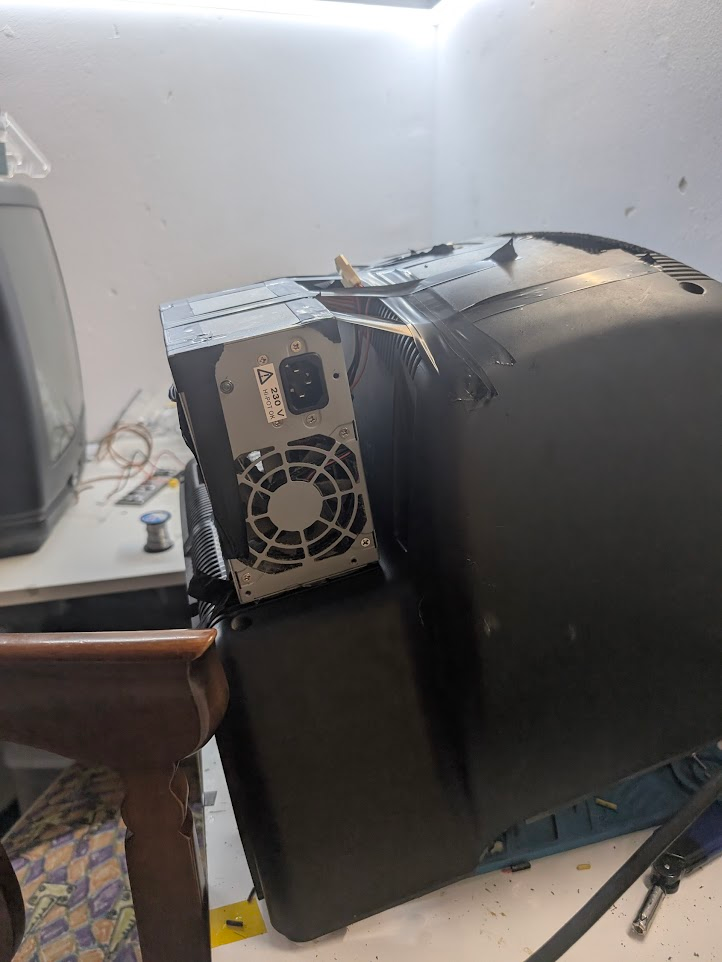
The solution: «Thinking outside the box,» literally! We decided to mount it on the outside, using the free space on the back.
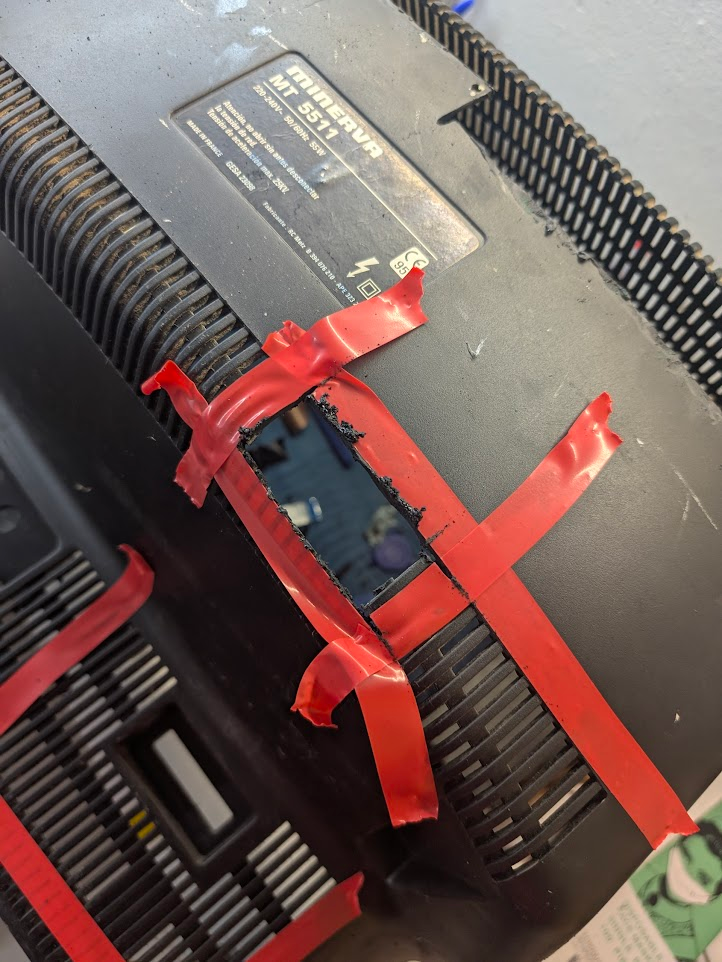
The portal: To connect the power supply to the motherboard, we opened a new portal in the case to pass all the wiring through.
Initial fastening: We used the ever-reliable double-sided tape for a temporary fix. A classic!
Problems with the 24-pin cable
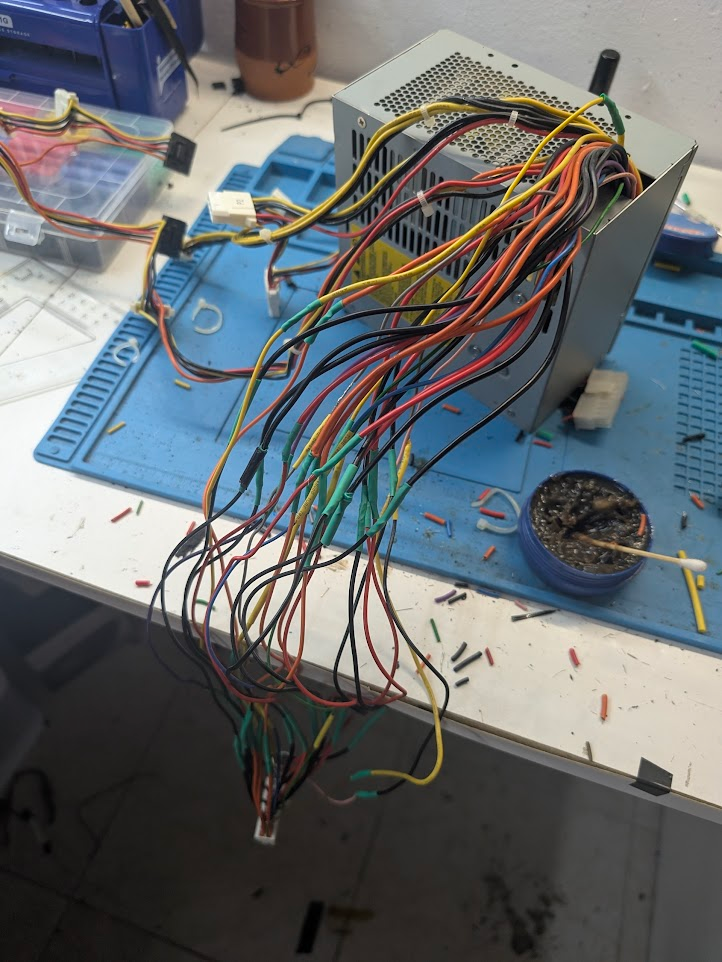
But just when everything seemed to be going well… a new problem arose: the 24-pin connector on the power supply was too short and couldn’t reach the motherboard.
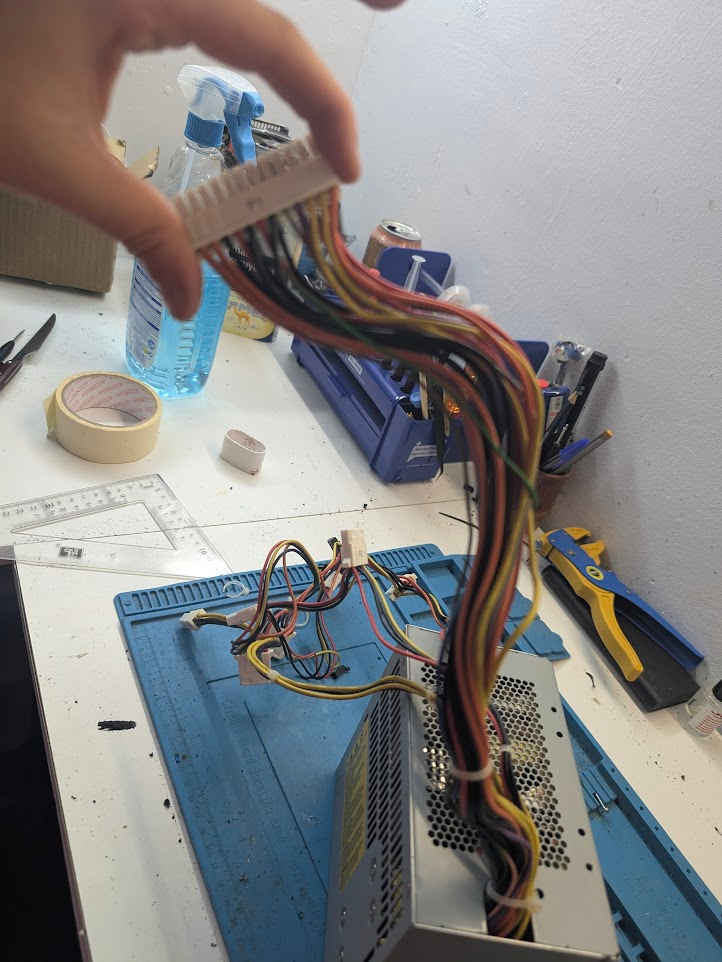
Luckily, there’s nothing a soldering iron and some heat-shrink tubes can’t fix. With a lot of patience, we cut each of the 24 wires and extended them by splicing in a new section.
Temporary mounting and cable management
With the cables now extended, we were able to continue with the assembly.
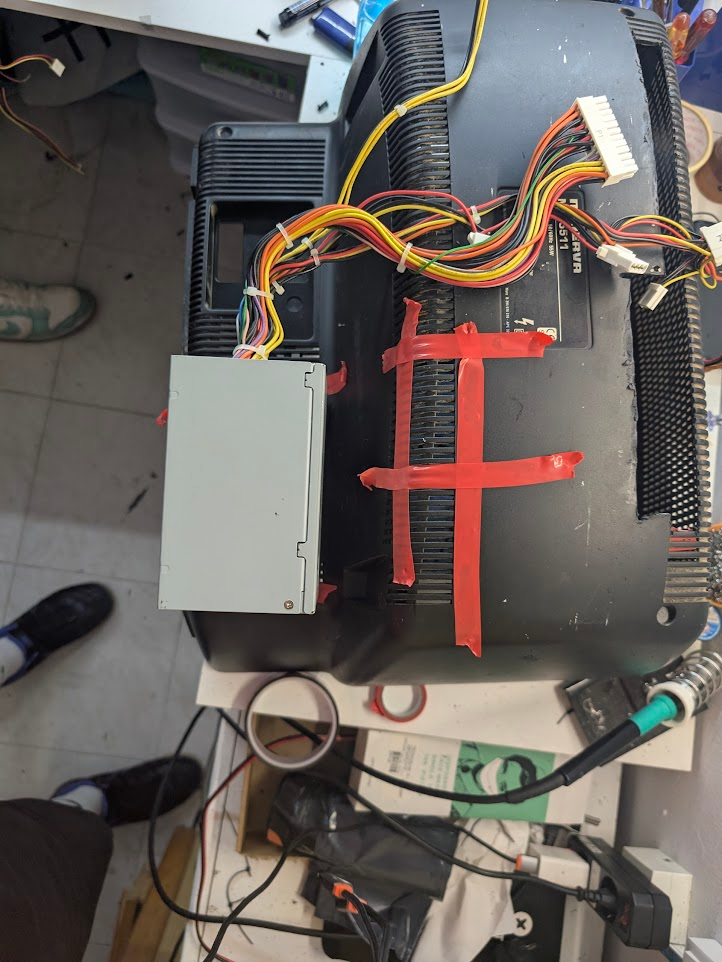
Power supply: We attached it «clandestinely» and temporarily with electrical tape.
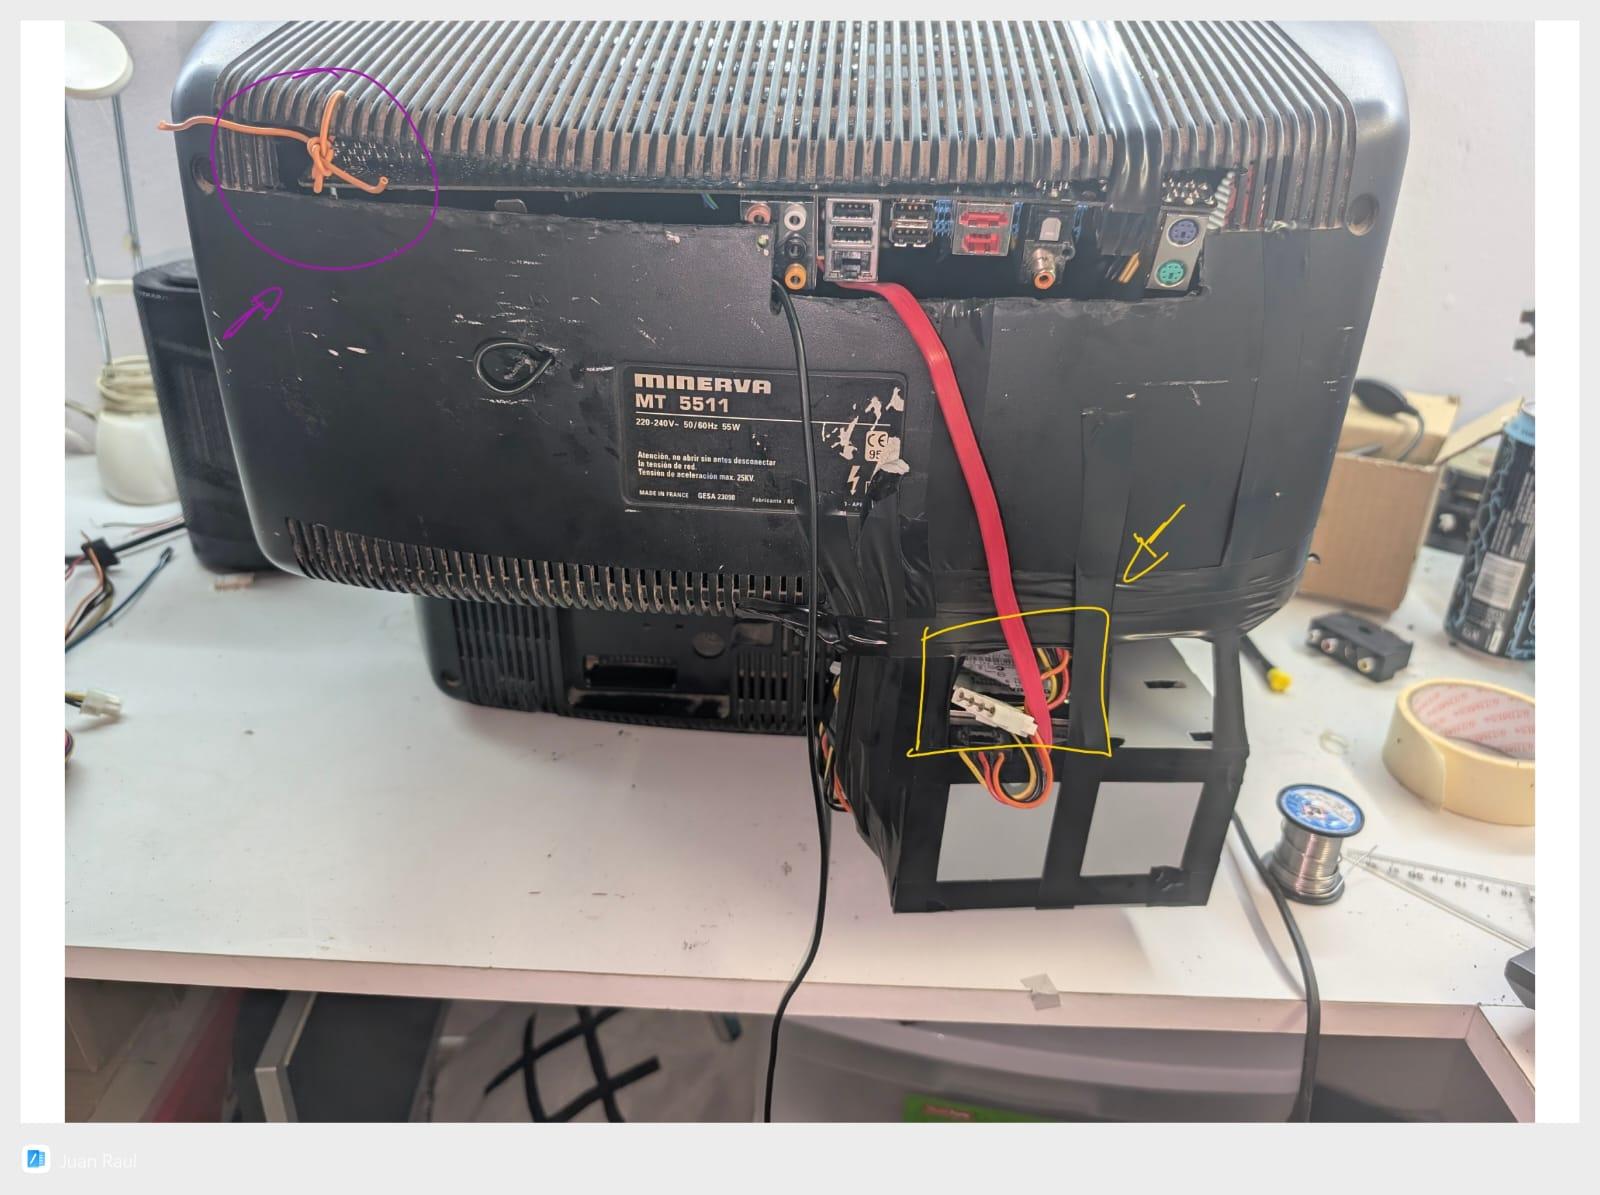
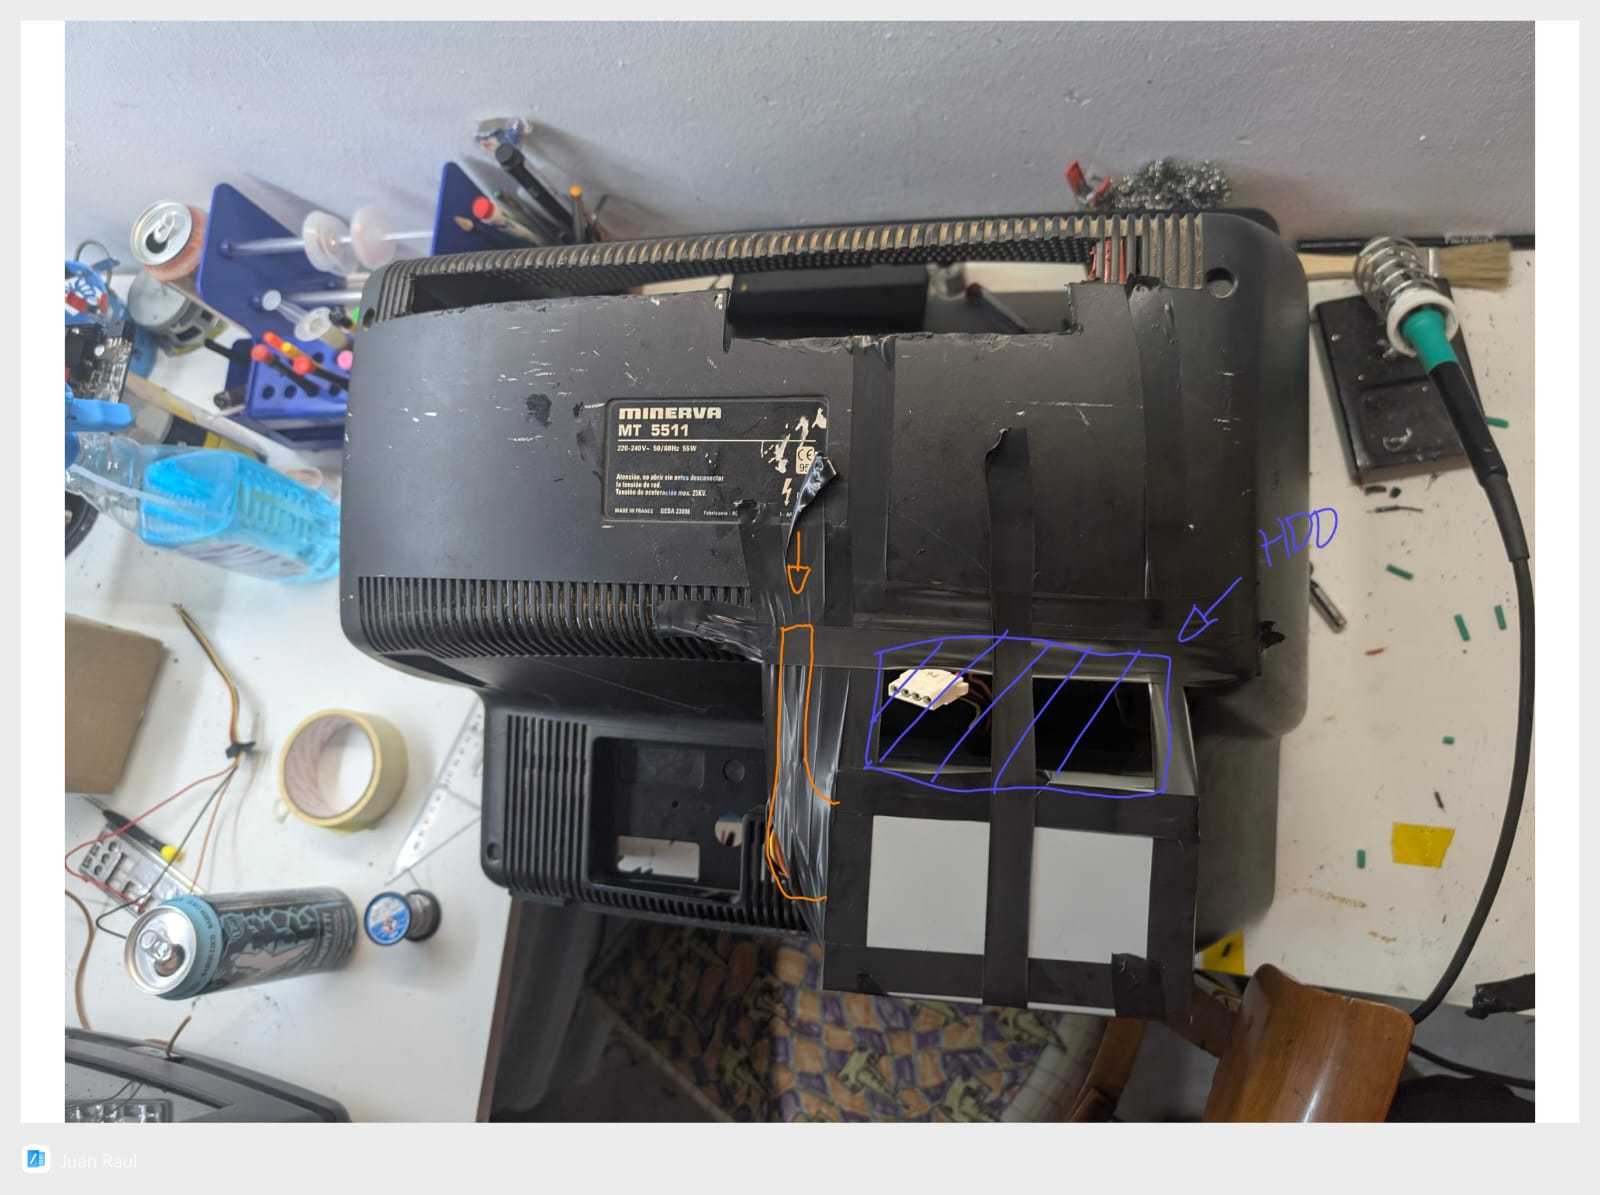
Hard drive and cables: The next image shows the temporary location of the hard drive (blue) and the route of the power supply cables to the inside (orange).
Here you can see the inside of the TV with the board already installed and how the power supply cables (orange) enter through the cutout we made.
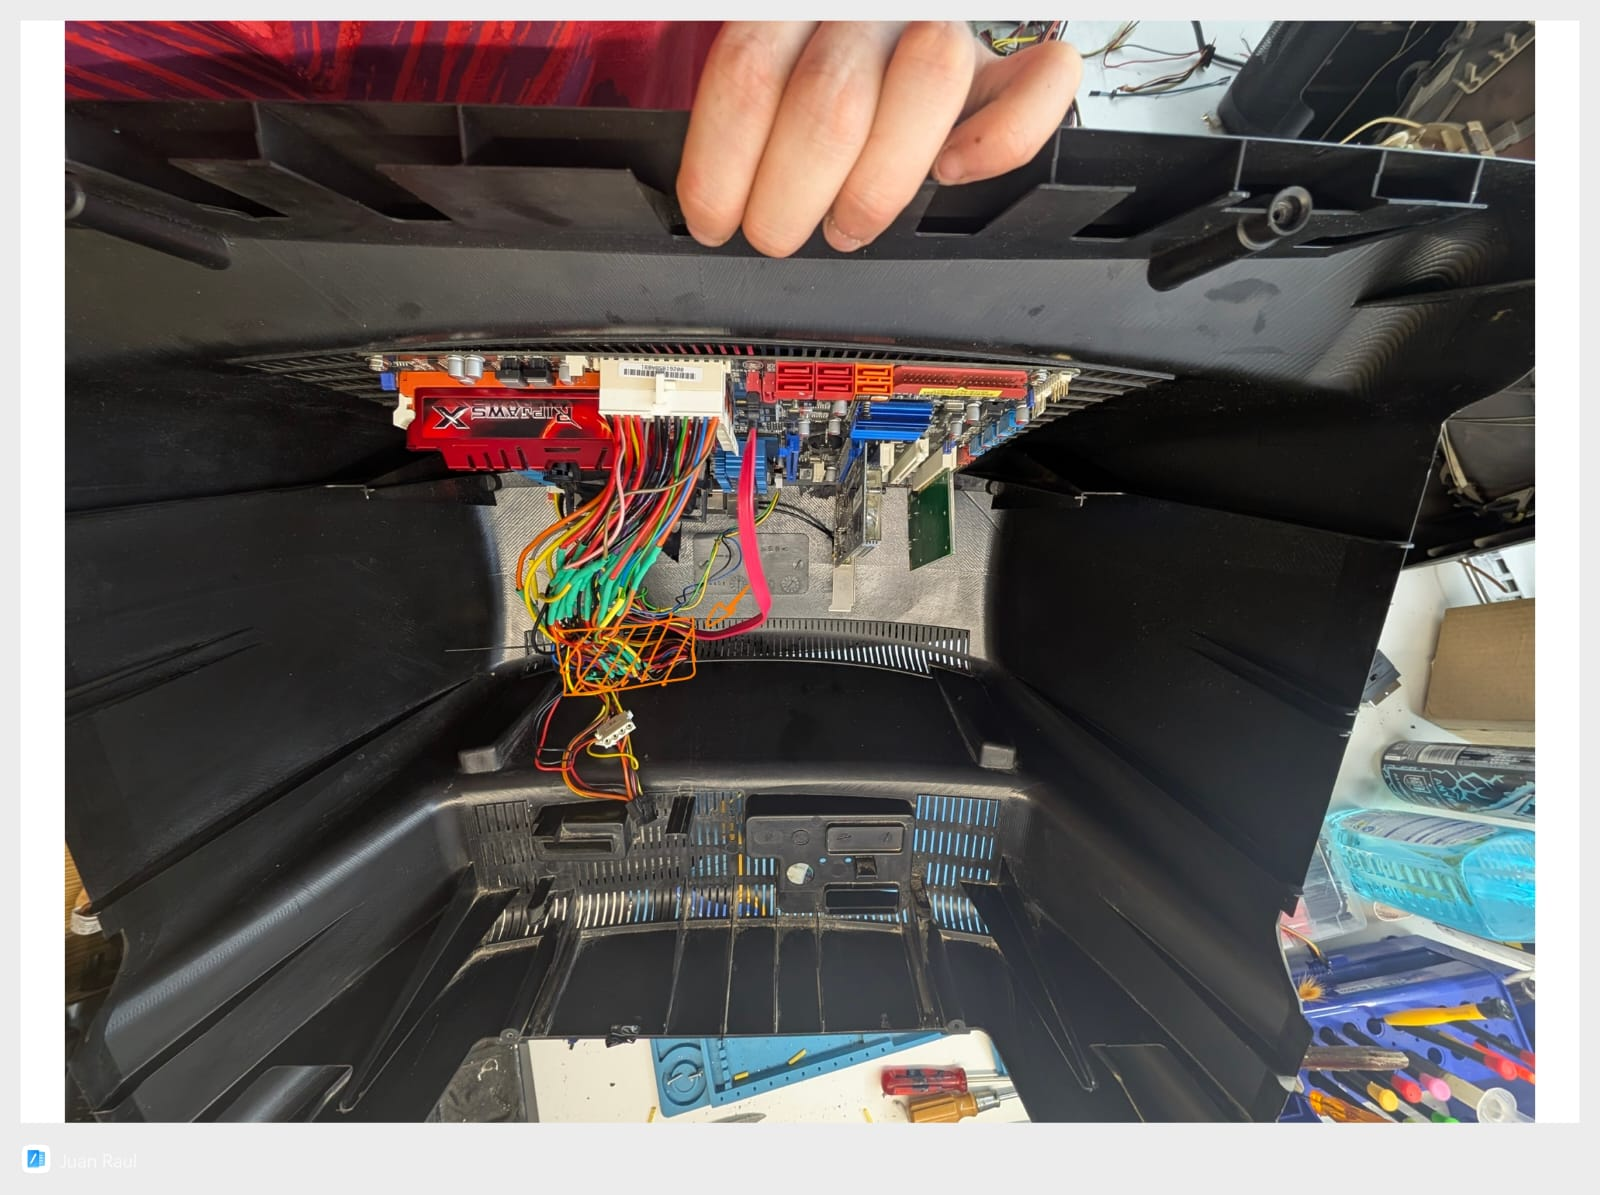
Finally, the hard drive in its place (yellow). And yes, as you can see, we ran out of cable ties and had to improvise with a cable (purple).